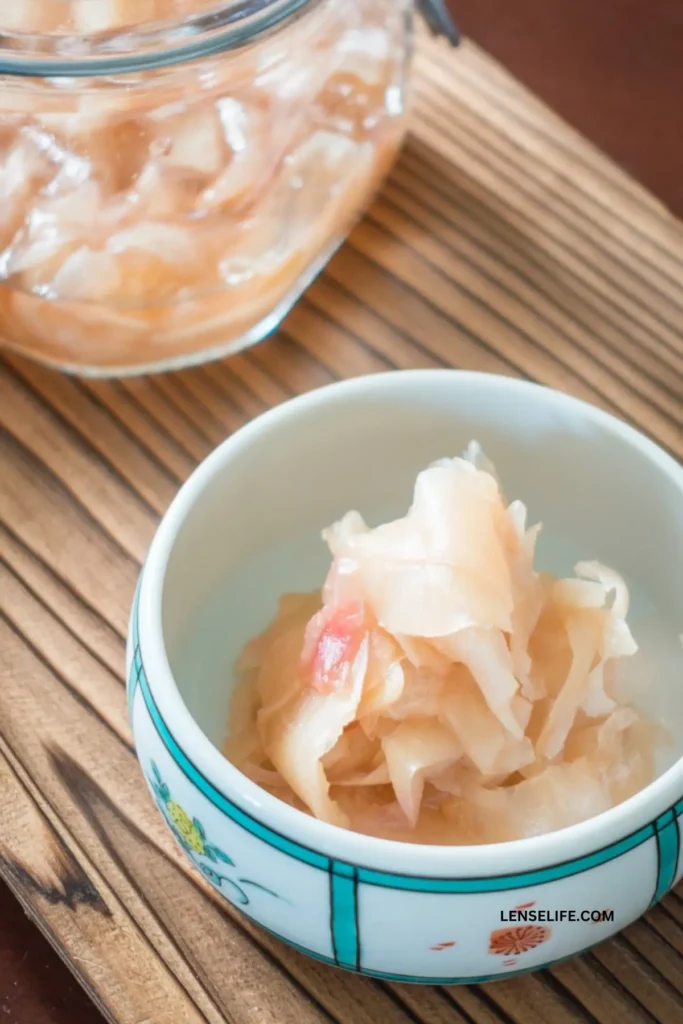
So, you’ve tasted that delightful pinkish heap of pickled ginger next to your sushi or sashimi, and you’re wondering, “Can I make this at home?” The answer is a resounding YES! With just a bit of know-how and a pinch of enthusiasm, you can whip up your own batch of quick pickled ginger that’ll have your taste buds dancing.
In this guide, we’ll dive deep into the art of making pickled ginger from scratch, and trust me, it’s simpler than you think.
Understanding Pickled Ginger
Let’s start by unraveling the mystery behind pickled ginger. You’ve probably seen it served alongside your favorite Japanese dishes, but what exactly is it?
Well, it’s ginger that’s been transformed into a zesty, slightly sweet, and oh-so-tangy delight through the magic of pickling.
Pickling is like giving your ingredients a flavor makeover. It’s the process of preserving food by soaking it in a mixture of vinegar, sugar, and salt.
In the case of pickled ginger, ginger slices take a luxurious bath in this tantalizing solution.
Pickled Ginger Ingredients
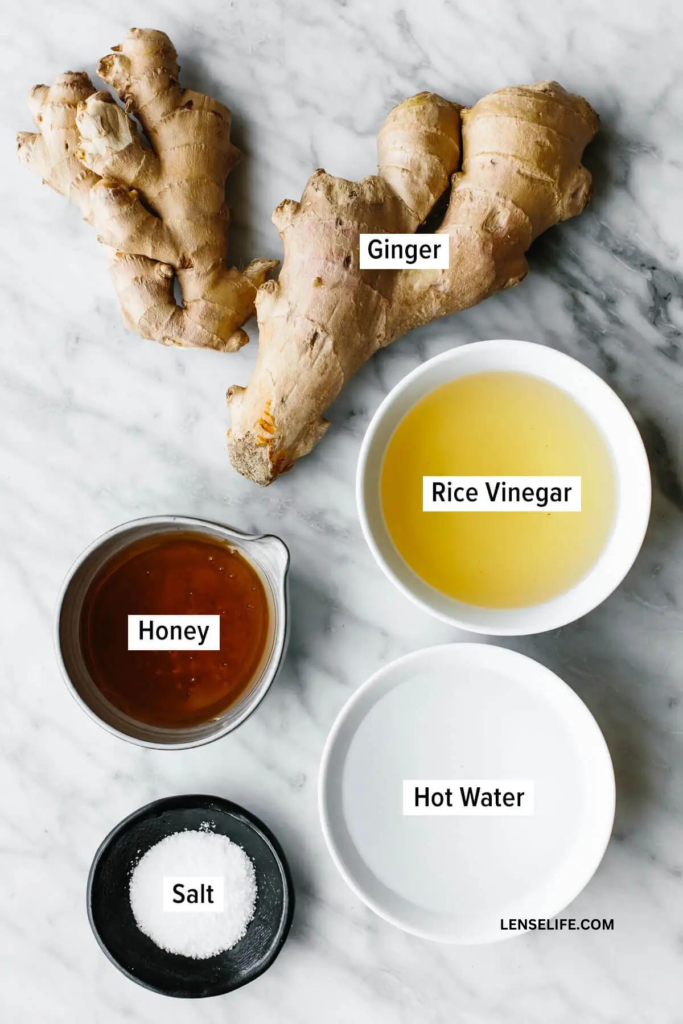
Now, let’s roll up our sleeves and get into the nitty-gritty of what you’ll need to embark on your homemade pickled ginger adventure.
- Fresh Ginger: The star of the show, providing a spicy kick and a satisfying crunch.
- Rice Vinegar: Adds tanginess and helps preserve the ginger.
- Granulated Sugar or Honey: Balances the vinegar’s acidity with a touch of sweetness.
- Salt: Enhances flavors, preserves the ginger’s texture, and brings it all together.
- Optional Flavor Enhancers: Mirin, a sweet rice wine, and shiso leaves for added complexity and freshness.
Necessary Kitchen Tools and Equipment
To make this magic happen, you won’t need a kitchen full of gadgets. Here are the basics:
- Knife and Cutting Board: For slicing your ginger with precision.
- Peeler: To gracefully shed that ginger skin.
- Pot: To concoct your pickling solution.
- Glass Jars: For storing your precious pickled ginger.
- Lid or Plastic Wrap: To seal the deal and keep everything fresh.
How to Make Pickled Ginger
Now that we’ve got our ingredients and their roles sorted, let’s embark on our quick pickled ginger-making adventure.
Here’s the step-by-step guide to crafting your own delectable pickled ginger:
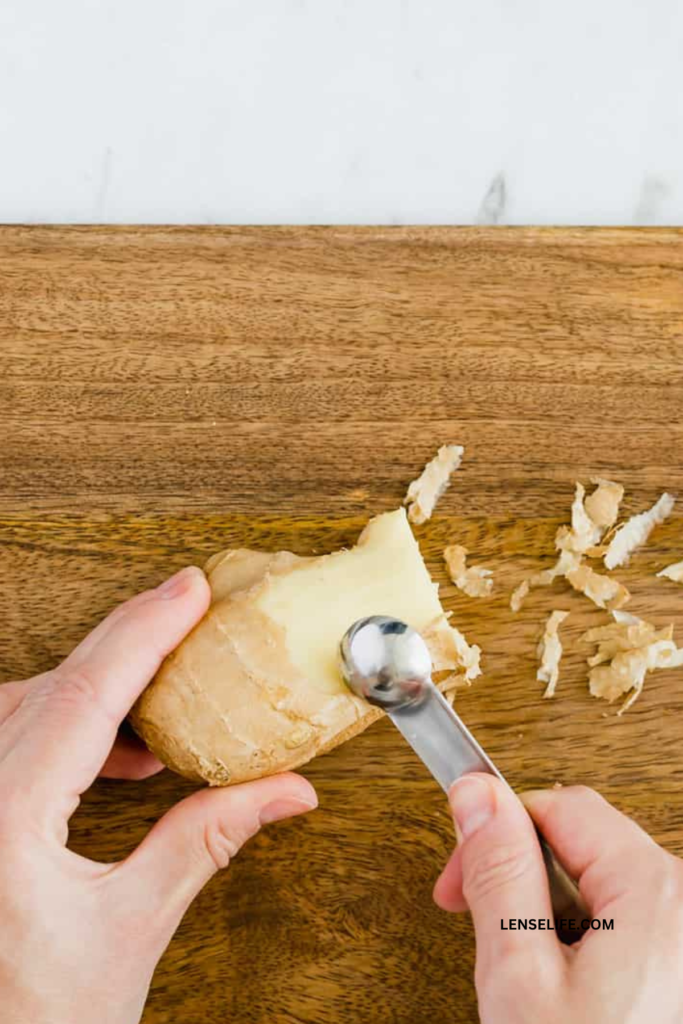
- Prepare Your Ginger: Select fresh, firm ginger, preferably young ginger for milder flavor. Use a spoon or peeler to gently remove the ginger skin.
Grate or slice the ginger as thinly as possible for uniformity and visual appeal.

- Mix Everything: Incorporate all the components into your air tight container and thoroughly blend them together.
- Seal and Store: Allow it to rest at room temperature for approximately one hour, followed by refrigeration for a minimum of 4 hours to ensure proper pickling.
- Get Creative: Customize your pickled ginger with additional flavors or adjust sweetness and saltiness to your liking.
And that’s it! You’ve unlocked the secret to making your own delicious quick pickled ginger.
Flavor Combinations and Variations
Enhancing your homemade pickled ginger is all about making it uniquely yours. Here are some quick tips for customizing the flavors:
Adding Additional Flavors: Get creative! If you want to kick things up a notch, consider adding minced garlic for a savory punch, chili for a spicy kick, or lemon zest for a citrusy twist. Experiment with these extra flavors to suit your taste.
Adjusting Sweetness and Saltiness to Taste: Taste your pickling solution as you go. If you prefer it sweeter, add a bit more sugar. If you like it saltier, sprinkle in extra salt. Customizing the sweetness and saltiness is all about catering to your palate.
Experimenting with Alternative Vinegars: While rice vinegar is the traditional choice, don’t hesitate to try different types of vinegar. Apple cider vinegar, for instance, can bring a fruity note, while red wine vinegar adds a deeper complexity. Let your taste buds guide you in finding your favorite combination.
Safety and Storage
Safety first, my fellow pickling enthusiasts! Let’s make sure our pickled ginger journey is not just delicious but also safe and sound.
Ensuring Hygiene During the Pickling Process: When you’re pickling, cleanliness is next to deliciousness. Wash your hands, sanitize your tools, and keep everything spick and span. We want those flavors to shine, not unwanted bacteria.
Safe Storage Practices to Extend Shelf Life: Want your homemade pickled ginger to last? Keep it cool and in the dark. Store those jars in the fridge, and they’ll stay good for months. Trust me; they’re going to disappear from your fridge faster than you think.
Signs of Spoilage and When to Discard Pickled Ginger: Sadly, even the best-laid pickling plans can sometimes go awry. If you spot any signs of mold, off smells, or slimy textures, it’s time to bid farewell to your pickled ginger. Better safe than sorry, right?
Serving and Pairing
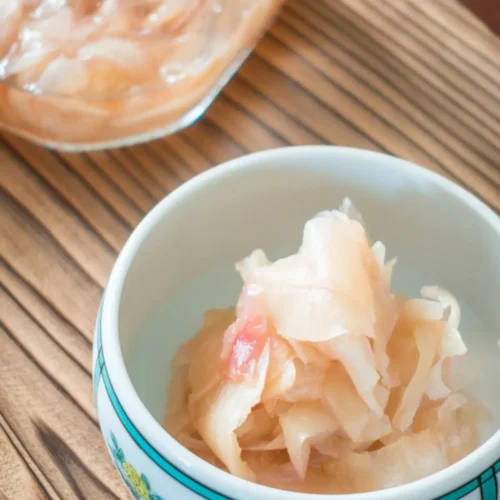
Congratulations! You’re now the proud owner of a jar (or two) of homemade pickled ginger. But what do you do with it? Let’s dive into the exciting world of serving and pairing.
Culinary Uses: The most classic pairing for pickled ginger is, of course, with sushi and sashimi. That zesty kick is the perfect palate cleanser between bites of the freshest fish. But don’t stop there! Add it to sandwiches, salads, or even grilled meats for a surprising twist.
Complementary Dishes: Pickled ginger is a versatile sidekick. It can complement a wide range of dishes. Try it with your favorite Asian-inspired stir-fries, noodle bowls, or as a condiment for grilled seafood. The possibilities are endless!
Creative Serving Suggestions: Let your culinary imagination run wild! Use pickled ginger as a topping for tacos, a garnish for soups, or even mixed into salad dressings for a zingy surprise. Get creative and let your taste buds be your guide.
Conclusion
And there you have it, your journey from ginger to glorious pickled perfection! Making quick pickled ginger at home is not only a fun and rewarding kitchen adventure but also a surefire way to elevate your meals.
So, what are you waiting for? Grab that fresh ginger, mix up that tangy pickling solution, and let the magic happen.
The world of homemade pickled ginger is at your fingertips, and trust me, it’s a flavor explosion worth savoring.
Now, go ahead and take your culinary skills to the next level. Your taste buds will thank you, and your friends will be utterly impressed when you serve up your homemade pickled ginger with a smile. Enjoy the journey, fellow food explorer!
Frequently Asked Questions
While any ginger will work, it’s best to choose fresh, firm ginger for the best flavor and texture.
Rice vinegar is the classic choice, but white vinegar is a suitable alternative.
When stored properly in the fridge, homemade pickled ginger can last for several months.
Absolutely! Tinker with the sugar and salt ratios to achieve the taste you desire.
Try it in salads, sandwiches, stir-fries, or as a condiment for grilled meats and seafood.
Yes, you can add ingredients like garlic, chili, or lemon zest to infuse unique flavors.
Quick Pickled Ginger (Healthy Recipe)
Ingredients
- 10 ounces ginger (young ginger preferred)
- ½ cup rice vinegar
- ½ cup boiling hot water
- ¼ cup honey or maple syrup
- 1 teaspoon kosher salt
Instructions
- Prepare the ginger: Begin by peeling and thinly slicing the ginger using either a vegetable peeler or a mandoline
- Incorporate the ginger: Transfer the thinly sliced ginger into a glass storage container.
- Include the remaining ingredients: Combine the vinegar, hot water, honey, and salt with the ginger slices, stirring to ensure everything is well-mixed.
- Allow pickling: Seal the container with a lid and let it sit at room temperature for 1 hour, followed by refrigeration for at least 4 hours before enjoying. Remember to use fresh utensils when removing ginger to prevent introducing bacteria and extend the storage life.
