So, you’ve decided to embark on a delicious journey of making your very own oat milk at home?
Congratulations! You’re about to discover a world of creamy goodness that not only tastes amazing but also offers a plethora of advantages.
In this oat milk adventure, we’ll explore the why, what, and how of crafting this delectable dairy alternative in the comfort of your kitchen.
Oat Milk Ingredients
Here’s the lowdown on what you need to make oat milk magic happen:
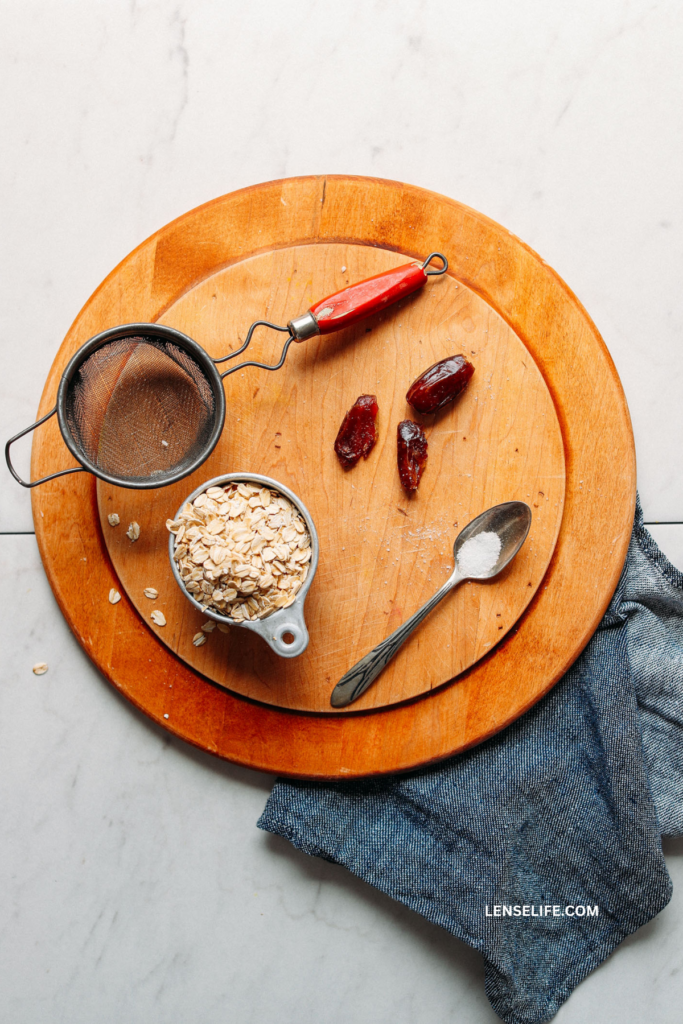
- Rolled Oats: The star of the show. Opt for rolled oats, as they blend smoothly and create a creamy texture.
- Water: Simple and essential. It’s the base of your oat milk.
- Sweetener (Optional): If you have a sweet tooth, you can add your favorite sweetener, like maple syrup, honey, agave nectar, or even dates, for a touch of sweetness.
- Flavorings (Optional): Want to get fancy? Experiment with natural flavorings like vanilla extract, cinnamon, or cocoa powder to create unique flavors.
Equipment Needed
No need for a high-tech lab; your kitchen will do just fine. Here’s what you’ll need:
- Blender: Any decent blender will work its magic in turning oats into creamy goodness.
- Nut Milk Bag or Cheesecloth: You’ll use this to strain your oat milk and separate it from the oat pulp.
- A Large Bowl: For collecting that luscious oat milk.
- Storage Container: To keep your homemade oat milk fresh in the fridge.
Now that you’ve got your ingredients and equipment all lined up, it’s time to tackle the next steps in this oat milk adventure.
How to Make Oat Milk
1. Preparing the Oats
Here’s where the oat milk-making journey truly begins. But before we rev up the blender, there are a few oat-related considerations to keep in mind:
- Choosing the Right Oats
Not all oats are created equal. When making oat milk, opt for rolled oats. They’re the unsung heroes of oat milk creation, delivering a smooth, creamy consistency that’s perfect for your morning coffee or cereal.
- Rinsing and Draining the Oats
Think of rinsing oats as giving them a little spa day before they become milk. Rinse them under cold water to get rid of excess starch, which can result in a slimy texture.
Then, drain them well to ensure they’re ready for blending.
- Pre-soaking (Optional)
Want ultra-smooth oat milk? Consider giving your oats a little pre-soak in cold water for 15-30 minutes before blending. This can help soften the oats and create an even creamier texture.
With your oats prepped and ready to roll, we’re one step closer to crafting the perfect homemade oat milk.
2. Blending the Oats
With our oats all prepped and ready for action, it’s time to dive into the blending phase.
This is where the magic happens, and you’ll be one step closer to sipping on your homemade oat milk masterpiece.
- Ratios of Oats to Water for Different Consistencies
The key to perfect oat milk is getting the oat-to-water ratio just right. It’s like finding the perfect harmony in a song. Here’s a simple guide:
Creamy Delight: For a thick and creamy oat milk, go with a 1:3 ratio of oats to water. This will give you a rich, full-bodied texture that’s perfect for coffee or as a milk substitute in recipes.
Everyday Goodness: If you prefer a lighter oat milk, a 1:4 ratio of oats to water is your go-to. This is ideal for cereal, smoothies, and general sipping.
Remember, you can always adjust the ratio to suit your taste buds. It’s all about finding your oat milk groove.
- Adding Sweeteners and Flavorings
Here’s where you can get creative. Want a touch of sweetness in your life? Add sweeteners like maple syrup, honey, agave nectar, or dates.
For a flavor explosion, experiment with natural flavorings like vanilla extract, cinnamon, or cocoa powder.
Be your own oat milk mixologist and create a blend that makes your taste buds sing.
- Blending Techniques for Smooth Oat Milk
Now, let’s blend our oats into creamy bliss. Toss those rinsed and drained oats into your trusty blender.
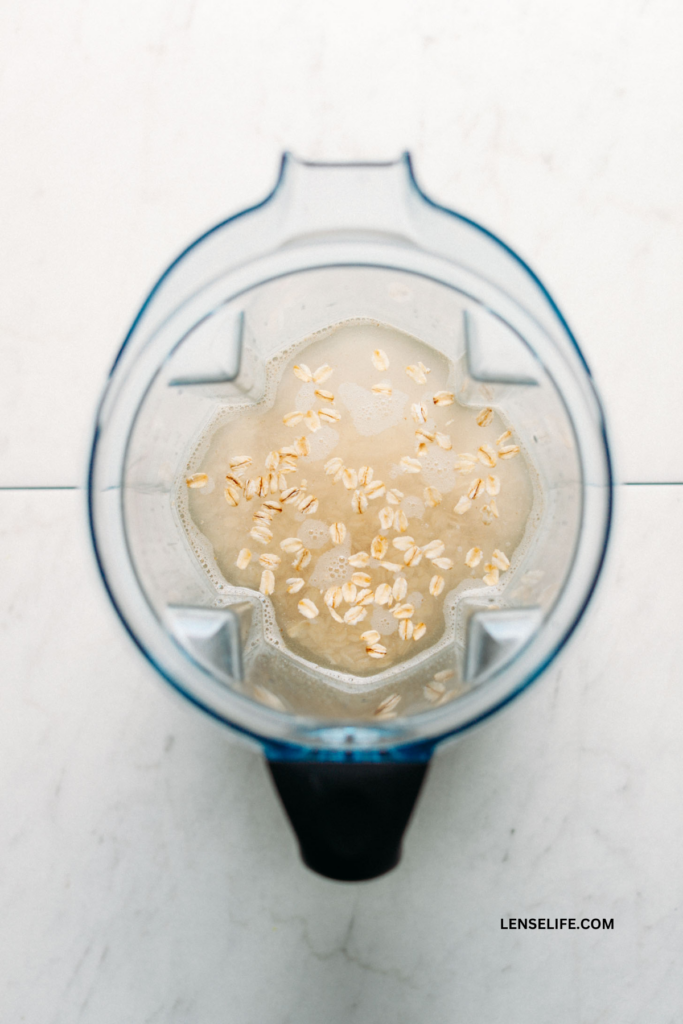
Start on a low speed and gradually increase it. Blend for about 30 seconds to 1 minute, or until you see that the oats are fully incorporated, and the mixture looks creamy and dreamy.
- Troubleshooting Common Blending Issues
Sometimes, even the best-laid oat milk plans can run into a few hiccups. If you notice your oat milk is too slimy or gritty, don’t worry; we’ve got your back. You can try these tricks:
Strain Again: If the texture isn’t right, consider straining the oat milk one more time to remove any remaining oat particles.
Adjust the Water: Too thick? Add a bit more water and blend again. Too thin? Blend in a few more oats.
Soak Longer: If you didn’t pre-soak your oats and you’re not satisfied with the texture, try soaking them for a bit longer next time.
Now that you’ve got your creamy oat milk, let’s move on to the next step—straining.
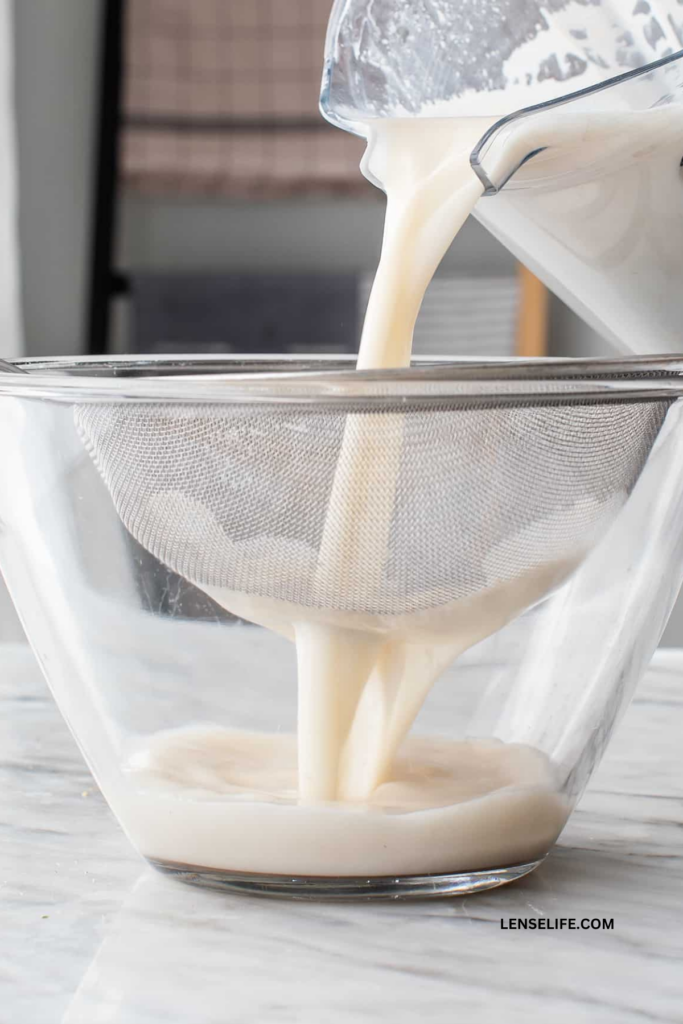
3. Straining the Oat Milk
Straining is where we separate the silky liquid gold from the oat pulp. Let’s get started!
- Setting Up the Straining Station
Grab a large bowl and position it beneath your nut milk bag or cheesecloth. Make sure the bag or cloth is securely fastened to the rim of the bowl. You don’t want any oat milk escaping!
- Pouring the Oat Milk Through a Nut Milk Bag or Cheesecloth
Carefully pour your blended oat mixture into the nut milk bag or onto the cheesecloth. The oat milk will slowly filter through, leaving behind the pulp.
- Extracting as Much Liquid as Possible
Now comes the fun part—squeeze, squeeze, squeeze! Gently press down on the oat pulp to extract as much liquid as possible. You want every drop of that creamy goodness in your bowl.
- What to Do with Oat Pulp (Leftovers)
Don’t toss that oat pulp just yet! It’s a versatile ingredient that you can use in various recipes.
Try adding it to smoothies, baked goods, or even as a thickening agent in soups and stews. Zero waste, and full of flavor!
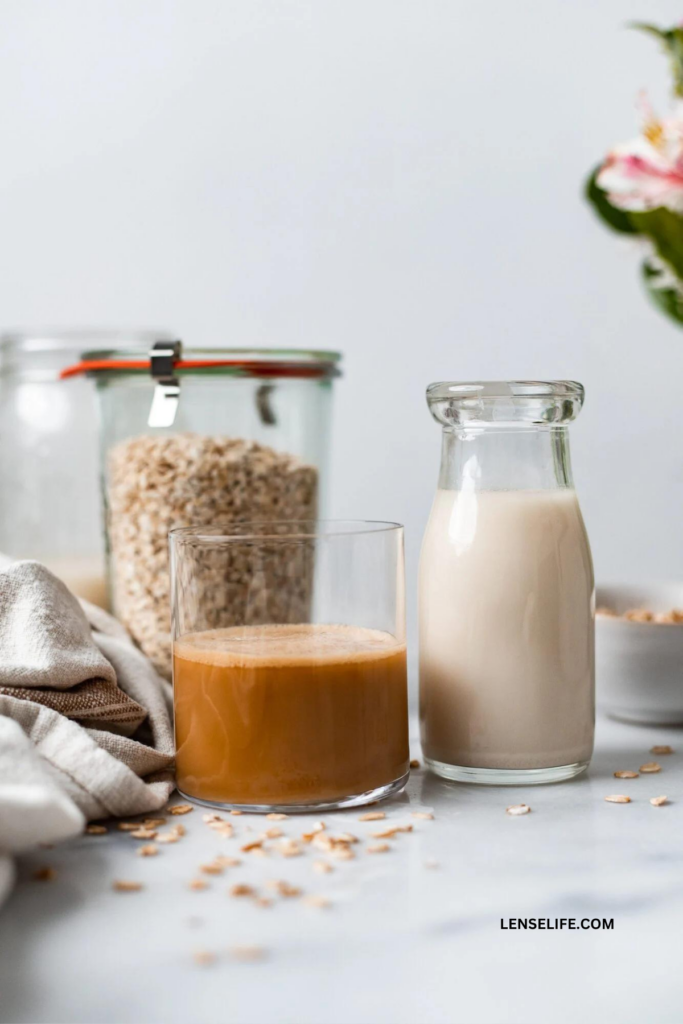
4. Storing Oat Milk
Now that you’ve crafted your delicious homemade oat milk, it’s time to learn how to store it and incorporate it into your daily routine. Let’s dive into this oat milk adventure!
- Choosing the Right Storage Container
To keep your oat milk fresh and flavorful, you’ll want to select the right storage container. An airtight container, preferably made of glass or BPA-free plastic, is ideal.
This helps maintain the freshness and prevents any unwanted odors or flavors from seeping in.
- Refrigeration and Shelf Life
Homemade oat milk, like its store-bought counterpart, should be stored in the refrigerator.
It’s best when consumed within 4-5 days for optimal freshness. Be sure to check for any signs of spoilage, like an off smell or unusual texture, before using.
- Shaking Before Use
Before pouring yourself a glass of oat milk, give it a good shake. Oat milk tends to settle, so a quick shake will ensure an even consistency and a delightful taste every time.
How to Avoid Slimy Oat Milk
Slimy oat milk can be a bit of a buzzkill, but fear not! With a few tricks up your sleeve, you can sidestep the slimy situation and ensure your oat milk is silky-smooth:
- Rinse Thoroughly: Before blending, make sure to rinse your oats thoroughly under cold water. This helps remove excess starch, a common culprit behind sliminess.
- Adjust the Oat-to-Water Ratio: Experiment with different oat-to-water ratios to find the perfect balance between creaminess and thickness. Sometimes, too many oats can lead to slimy results.
- Opt for Rolled Oats: Rolled oats are your best bet for smooth oat milk. They blend easily and tend to result in a creamier texture.
- Skip the Pre-Soak: While pre-soaking can help create a smoother texture, it can also lead to sliminess if done for too long. If you’re experiencing slimy oat milk, try skipping the pre-soak step or reducing the soaking time.
- Strain Again: If your oat milk turns out slimy, strain it once more through a nut milk bag or cheesecloth. This can help remove any remaining oat particles that contribute to the slimy feel.
How to Make Oat Milk the Least Slimy
Creating the least slimy oat milk involves a unique twist in the process. Here’s a step-by-step guide to making it:
- Add Oats to a Bowl: Start by placing your rolled oats in a bowl. This is where the magic begins.
- Open Two Capsules of Digestive Enzymes: Here’s the secret ingredient: digestive enzymes. Open two capsules and add the contents to your oats. These enzymes can help break down starches and reduce the slimy texture.
- Strain the Mixture: Give the oats and digestive enzymes a good mix, ensuring the enzymes are evenly distributed.
- Transfer the Washed Oats: Rinse the oat mixture under cold water to remove excess starch, just like in the standard oat milk-making process.
- Blend the Oats: After rinsing, transfer the oats to your blender and add water. Blend until the mixture is creamy and smooth.
- Strain the Oat Milk: Strain the blended mixture through a nut milk bag or cheesecloth, as usual, to separate the oat milk from the oat pulp.
- Store the Oat Milk: Finally, store your oat milk in an airtight container in the refrigerator. It should stay fresh for around 4-5 days.
This modified method with digestive enzymes can help minimize sliminess and result in smoother, creamier oat milk. Enjoy your creation!
Incorporating Oat Milk into Your Daily Routine
Now that you have your homemade oat milk ready to go, let’s talk about how to incorporate it into your daily routine. Here are some tasty ideas:
- Coffee and Tea: Swap out your regular milk or creamer with oat milk for a creamy and dairy-free cup of coffee or tea. It froths beautifully for lattes too!
- Cereals and Smoothies: Pour oat milk over your favorite cereal for a wholesome breakfast or blend it into a smoothie for an extra creamy texture.
- Baking and Cooking: Oat milk is a versatile ingredient in the kitchen. Use it in place of dairy milk in recipes for pancakes, muffins, sauces, and soups. It’s a fantastic choice for both sweet and savory dishes.
With these ideas in mind, your oat milk can become a versatile and delicious addition to your daily life.
Advantages of Making Oat Milk at Home
Before we dive into the nitty-gritty of oat milk creation, let’s talk about why making it at home is a fantastic idea.
Trust us; there are some compelling reasons to roll up your sleeves and get blending:
Freshness Like No Other
Imagine savoring a glass of oat milk that’s so fresh, it practically sings with oats’ natural sweetness.
When you make oat milk at home, you’re in control of the ingredients, ensuring that every drop is as fresh as can be. No preservatives, no additives, just pure oat goodness.
Tailored to Your Taste Buds
Do you like your oat milk a tad sweeter or with a hint of vanilla? Maybe you prefer it as a blank canvas for various culinary experiments?
When you make oat milk yourself, you call the shots. Adjust the sweetness, add flavors, and create a blend that perfectly suits your taste buds.
Budget-Friendly Brilliance
Let’s be real; store-bought oat milk can be a bit pricey. But when you make it at home, you’re not just saving money; you’re also saving the environment from all those cartons and containers. It’s a win-win!
Fewer Trips to the Store
Picture this: you’re craving a creamy latte or a bowl of cereal, and you realize you’re out of oat milk.
The horror! But when you make oat milk at home, you can whip up a fresh batch whenever you want. No last-minute grocery store dashes.
Now that we’ve got you hooked on the idea of homemade oat milk, let’s get down to the essentials.
Health Benefits of Oat Milk
Now that you’re enjoying the deliciousness of oat milk, let’s talk about its health benefits. Oat milk isn’t just tasty; it’s also packed with goodness.
Nutritional Value of Oat Milk
Oat milk is a nutritional powerhouse. It’s naturally low in saturated fat and cholesterol and provides essential nutrients like fiber, vitamins (especially B vitamins), and minerals (such as calcium and iron).
Plus, it’s often fortified with additional vitamins, making it even more nutritious.
Dietary Considerations (Vegan, Lactose-Free, Gluten-Free)
Oat milk is a fantastic choice for various dietary preferences and needs. It’s naturally vegan, making it suitable for plant-based diets.
If you’re lactose intolerant or have a dairy allergy, oat milk is a dairy-free alternative that won’t leave you missing out on flavor.
Additionally, certified gluten-free oats are available, making oat milk a gluten-free option for those with celiac disease or gluten sensitivity.
Potential Health Benefits
Beyond its nutritional value and dietary considerations, oat milk may offer some notable health benefits:
Heart Health: Oat milk is often associated with heart health due to its beta-glucans, which can help lower cholesterol levels. This, in turn, may reduce the risk of heart disease.
Digestive Health: The fiber in oat milk can promote digestive regularity and contribute to a healthy gut.
Bone Health: Many oat milks are fortified with calcium and vitamin D, which are essential for maintaining strong and healthy bones.
Conclusion
In conclusion, crafting your own oat milk at home is not only a delightful culinary adventure but also a healthy and sustainable choice.
You’ve learned how to choose the right oats, blend them into creamy perfection, and customize your oat milk to suit your taste buds.
With a bit of practice, you’ll be savoring homemade oat milk in your coffee, cereal, and recipes, all while reaping the nutritional benefits it offers.
So, why not give it a try? Whip up a batch of homemade oat milk and experience the creamy goodness for yourself. Your taste buds and your health will thank you!
Frequently Asked Questions
Absolutely! Making oat milk at home is a straightforward process that requires only a few ingredients and some basic kitchen equipment.
While you can use instant oats, it’s best to opt for rolled oats, as they provide a smoother texture and creamier consistency.
Homemade oat milk typically stays fresh for about 4-5 days when stored in the refrigerator in an airtight container.
The oat pulp is versatile and can be used in smoothies, baking, or as a thickening agent in soups and stews to reduce food waste.
Yes, oat milk is an excellent dairy milk replacement in various recipes, both sweet and savory, including pancakes, muffins, sauces, and more.
Absolutely! You have full control over the sweetness and flavor of your oat milk by adding sweeteners and natural flavorings like vanilla, cinnamon, or cocoa.
How to Make Oat Milk (Healthy Recipe)
Ingredients
- 1 cup rolled oats
- 4 cups ice cold water
OPTIONAL
- 1 to 2 tablespoon maple syrup
- 1 teaspoon vanilla extract
- pinch of salt
Equipment
- Vitamix
- Nut Milk Bag
Instructions
- Combine oats, water, and any extra sweeteners in a powerful blender. Blend for 20-30 seconds, taking care not to blend excessively.
- Filter the oat milk mixture by pouring it through a nut milk bag or a thin cloth into a spacious mixing bowl or pitcher. Optionally, you can filter it again to ensure all particles are eliminated.
- Move the oat milk to an airtight container and refrigerate it.
