Yogurt – that creamy, tangy goodness that we dollop on granola, swirl into smoothies, and devour by the spoonful.
It’s a versatile treat that’s as good for your taste buds as it is for your gut. But what if I told you that making yogurt at home is not only a breeze but also incredibly satisfying?

Say goodbye to store-bought yogurt because we’re about to embark on a homemade yogurt-making adventure!
Now, let’s dive into the nitty-gritty, starting with the tools and ingredients you’ll need.
Homemade Yogurt Ingredients
Before you dive into the step-by-step recipe guide, let’s gather the ingredients you’ll need and understand their roles in making homemade yogurt:
- Milk: Choose your milk of choice, whether it’s regular cow’s milk, goat’s milk, soy milk, almond milk, or coconut milk. The type of milk you select will influence the flavor and texture of your yogurt. Serves as the primary base for your yogurt, providing the liquid that the starter culture will work its magic on.
- Starter Culture: You can use a small amount of store-bought plain yogurt with live cultures or some from your previous homemade batch. This ingredient kickstarts the fermentation process. Contains the beneficial bacteria that will ferment the milk and turn it into yogurt.
- Flavorings (Optional): If you want to add a personal touch, consider flavorings like fruit, honey, or vanilla to customize the taste of your yogurt. Optional flavorings can enhance the taste of your yogurt, making it uniquely yours.
List of Essential Equipment
Making yogurt at home doesn’t require a fancy laboratory or a bunch of gadgets. You’ll find most of what you need right in your kitchen. Here’s what you should have on hand:
- Yogurt Maker or Alternatives – While a yogurt maker is handy, don’t fret if you don’t have one. We’ll explore alternative methods that work just as well.
- Thermometer – To nail that ideal temperature for yogurt-making, a kitchen thermometer is your trusty sidekick.
- Whisk – A simple whisk will help you mix your starter culture evenly.
- Containers – You’ll need some clean containers to store your yogurt while it ferments and chills. Think mason jars or any glass or plastic containers with lids.
How to Make Homemade Yogurt
Get ready to embark on your homemade yogurt-making adventure! Follow these simple steps to create creamy, flavorful yogurt in your own kitchen:
- Bring the Milk to a Temperature of 180 Degrees Fahrenheit: This step eliminates any undesirable microorganisms that might be present in your milk and guarantees the absence of any remaining bacteria, pathogens, mold, or spores. When fostering conditions for bacteria to proliferate, you want only the beneficial bacteria (which you introduce to the milk) to thrive. Additionally, heating the milk leads to a denser yogurt by altering the protein composition.

- Lower the Milk’s Temperature to a Range of 112-115 Degrees Fahrenheit: Following the step of rendering the milk unwelcoming to harmful elements, you now aim to create a welcoming environment for the beneficial bacteria found in your starter mix. Utilize the same instant-read thermometer that you employed during the milk heating process to gauge when it has cooled to the desired range.
- Incorporate Your Yogurt Starter, Which Contains the Beneficial Bacteria: Take out one cup of the warm milk and blend in either a yogurt starter like Yogourmet or 3 tablespoons of pre-existing yogurt. When selecting a suitable starter, seek out those with lactic acid-producing bacteria.
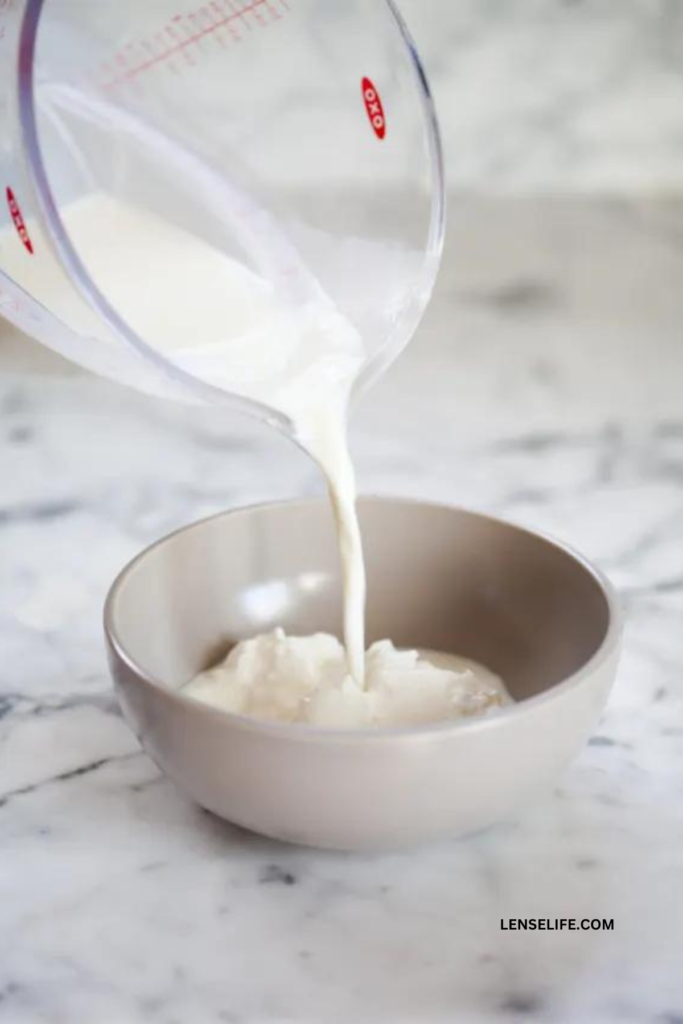
- Mix the Yogurt Starter Into the Remaining Milk: This action distributes the beneficial bacteria evenly throughout the entire milk.
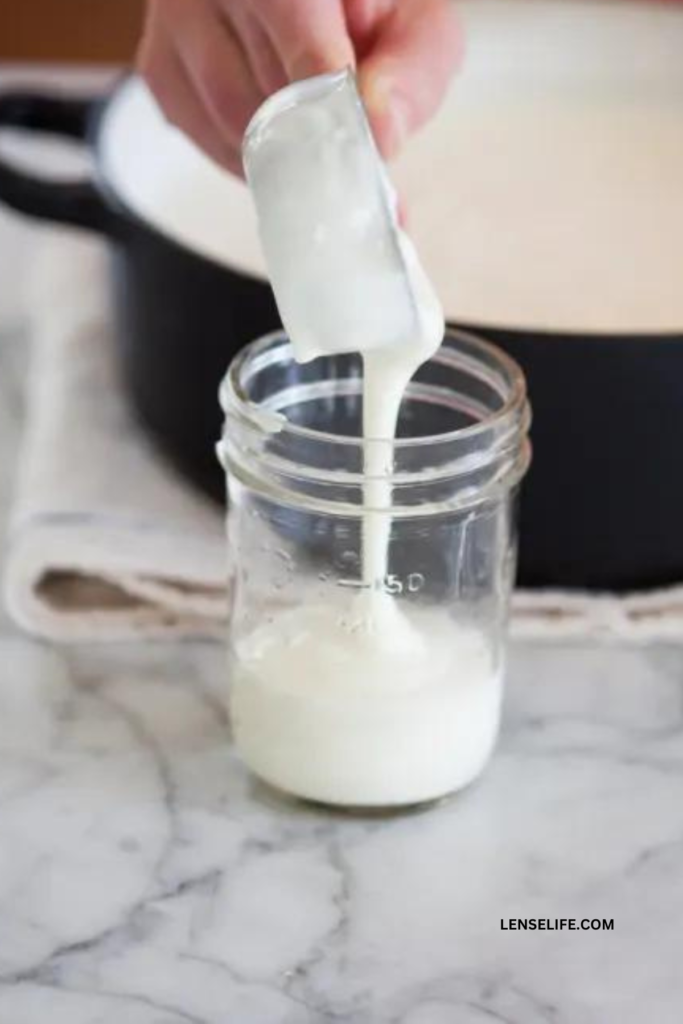
- Transfer the Milk Into Containers and Let It Incubate for a Duration of 7-9 Hours: Maintaining a stable, mildly warm temperature creates an ideal environment for the beneficial bacteria, encouraging their proliferation. The longer you allow your yogurt to incubate, the more substantial and tangy it will become. Around the 8-hour mark, you’ll achieve a delightful, nutritious, rich, and creamy yogurt.
Choosing the Right Milk
Types of Milk Suitable for Yogurt Making
Let’s start our yogurt journey with a crucial decision: the type of milk. Here are some options that are perfect for crafting creamy yogurt:
Regular Cow’s Milk: This classic choice is tried and true. Whole milk yields rich and creamy yogurt, while low-fat or skim milk results in a lighter texture. Experiment to find your favorite!
Goat’s Milk: If you’re feeling adventurous, goat’s milk makes for a tangy and slightly different yogurt experience. It’s perfect for those who prefer a unique twist.
Dairy-Free Alternatives (Soy, Almond, Coconut Milk): For our lactose-intolerant or vegan friends, don’t worry; there’s a world of dairy-free possibilities waiting for you. Soy, almond, and coconut milk all work beautifully.
Dairy-Free Alternatives (Soy, Almond, Coconut Milk)
Now, let’s dive deeper into the dairy-free realm because, trust me, there’s no shortage of delicious alternatives:
Soy Milk: It’s creamy, it’s protein-rich, and it’s a fantastic dairy substitute. Soy milk creates a yogurt with a pleasantly mild flavor and a smooth texture.
Almond Milk: Nuts about nuts? Almond milk can be your go-to. It imparts a delicate, nutty flavor to your yogurt and is perfect for those who love a lighter option.
Coconut Milk: If you crave a tropical twist, coconut milk is the way to go. It delivers a subtle coconut flavor and a luscious creaminess that’ll make your taste buds dance.
Factors to Consider When Selecting Milk
Choosing the right milk isn’t just about taste; there are a few more things to consider:
Fat Content: The fat content of the milk affects the creaminess of your yogurt. Higher fat content results in creamier yogurt, while lower fat content gives you a lighter texture.
Lactose Sensitivity: If you or anyone you’re sharing your yogurt with has lactose sensitivity, dairy-free alternatives are a lifesaver.
Dietary Preferences: Vegan? Opt for plant-based milk. Prefer the classic dairy experience? Stick with cow’s milk. Your dietary preferences play a big role in your milk choice.
Experimentation: Don’t be afraid to experiment! Trying different milk types is part of the fun. You might discover a new favorite along the way.
With your milk choice in mind, let’s move on to the next exciting step: preparing the milk.
Health Considerations
Nutritional Content of Homemade Yogurt
Homemade yogurt is a powerhouse of nutrition:
- It’s rich in calcium, promoting strong bones and teeth.
- It’s packed with protein to keep you feeling full and energized.
- Probiotics in yogurt can support a healthy gut and immune system.
Dietary Restrictions and Yogurt Variations
Yogurt is incredibly versatile. If you have dietary restrictions or preferences, don’t worry—there’s a yogurt variation for you.
Explore plant-based options like soy or almond yogurt, or try lactose-free varieties if dairy doesn’t agree with you.
Allergies and Lactose Intolerance
If you or your loved ones have allergies or lactose intolerance, homemade yogurt can still be on the menu.
Opt for dairy-free milk options, and make sure your starter culture is also dairy-free. It’s a win-win for everyone!
Flavoring and Storage
Adding Flavorings and Sweeteners (Fruit, Honey, Vanilla)
Now, let’s take your homemade yogurt up a notch by adding some pizzazz. Get creative with flavorings! Here are a few ideas to tantalize your taste buds:
- Fruit: Fresh berries, diced peaches, or mashed bananas can transform your yogurt into a fruity delight.
- Honey: Drizzle a little liquid gold for a touch of natural sweetness.
- Vanilla: A dash of vanilla extract or vanilla bean paste gives your yogurt a subtle, aromatic twist.
Mix and match to create your signature yogurt masterpiece!
Proper Storage of Homemade Yogurt
Before you dig in, you’ll want to know how to store your yogurt properly. Here’s the scoop:
- Seal your containers tightly with lids to keep out unwanted odors and moisture.
- Store your yogurt in the refrigerator at a consistent temperature of around 40°F (4°C).
- Make sure your fridge is odor-free, so your yogurt doesn’t pick up any funky flavors.
Refrigeration and Shelf Life
Homemade yogurt, when stored correctly, can stay fresh for up to 1-2 weeks. However, always check for any signs of spoilage, like off-putting odors or unusual textures. Trust your senses, and if it doesn’t seem right, it’s best to toss it.
Serving and Enjoying
Presentation and Serving Suggestions
Time to get fancy! Here are some presentation ideas to make your homemade yogurt feel like a gourmet treat:
- Layer it with granola and fresh fruit in a glass for a beautiful parfait.
- Top with a drizzle of honey and a sprinkle of chopped nuts for a touch of elegance.
- Use it as a creamy base for smoothie bowls, adding vibrant toppings like coconut flakes and chia seeds.
Incorporating Yogurt into Meals and Snacks
Yogurt isn’t just for breakfast or snacks. You can sneak it into savory dishes too! Here are a few ideas:
- Mix yogurt with herbs and spices to create a delightful dip.
- Use it as a healthier alternative to sour cream in recipes.
- Dollop it onto your favorite soups or curries for a creamy touch.
Conclusion
Congratulations, you’ve made it to the end of your homemade yogurt journey! From choosing the perfect milk to mastering the art of fermentation, you now have the skills to whip up creamy, delicious yogurt right in your kitchen.
Making homemade yogurt isn’t just about saving money or enjoying a healthy snack. It’s about creating something special, tailored to your taste, and sharing the joy with others.
So, don’t wait! Grab your ingredients, choose your milk, and get started. Your taste buds—and your tummy—will thank you for it. Happy yogurt-making!
Frequently Asked Questions
Yes, you have options! Regular cow’s milk, goat’s milk, or dairy-free alternatives like soy, almond, and coconut milk can all be used.
Aim for around 110°F (43°C) during the fermentation process to keep those beneficial bacteria happy.
No, a yogurt maker is handy but not essential. You can use an oven or towels to maintain the right temperature.
Typically, 6-8 hours, but you can adjust the time to your preference for tanginess.
Look for a thickened texture, a tangy aroma, and a gentle wobble when you jiggle it.
Absolutely! Add fruit, honey, or vanilla to customize your yogurt’s taste.

How to Make Homemade Yogurt (Easy Recipe)
Ingredients
- 42 ounces organic milk, (whole, 2% or skim milk)
- 1 packet yogurt starter
Instructions
- Transfer the milk into a spacious, microwave-safe container.
- Place the milk in the microwave and set it to high for 10 minutes. Using a digital thermometer, monitor the milk's temperature. Continue microwaving in intervals of 1 to 2 minutes until it reaches 180 degrees Fahrenheit.
- Take the milk out and allow it to cool down to a range of 112-115 degrees Fahrenheit. Speed up the cooling process by using an ice water bath.
- Pour 1 cup of the milk into a compact glass. Sprinkle the yogurt starter packet on top and thoroughly blend it in.
- Pour the contents of the small glass back into the larger bowl and mix them together.
- Fill the glass jars of the yogurt maker and set the timer for a duration of 7-9 hours. The longer you leave the yogurt, the thicker and more tangy it will become. A lengthier incubation time also generates more beneficial bacteria.
- Once the incubation period is finished, take out the glass jars and place them in the refrigerator.
- Prior to serving, you have the option to add various toppings such as fruit and granola.
