Hey there, fellow kitchen explorer! If you’ve ever wondered about the magic behind creamy, luscious mayonnaise, you’re in for a treat.
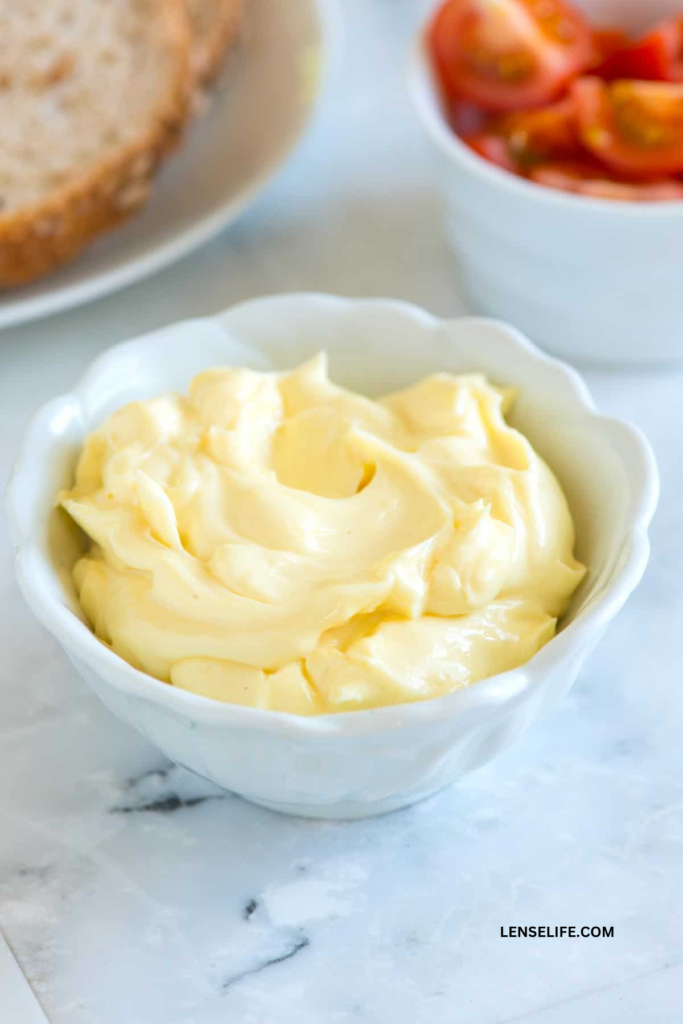
In this easy-to-follow guide, we’ll embark on a culinary adventure to create homemade mayonnaise that will leave you wondering why you ever bought the store-bought stuff.
Homemade Mayonnaise Ingredients
Let’s dive into the heart of homemade mayonnaise: the ingredients and their essential roles in creating that creamy goodness.
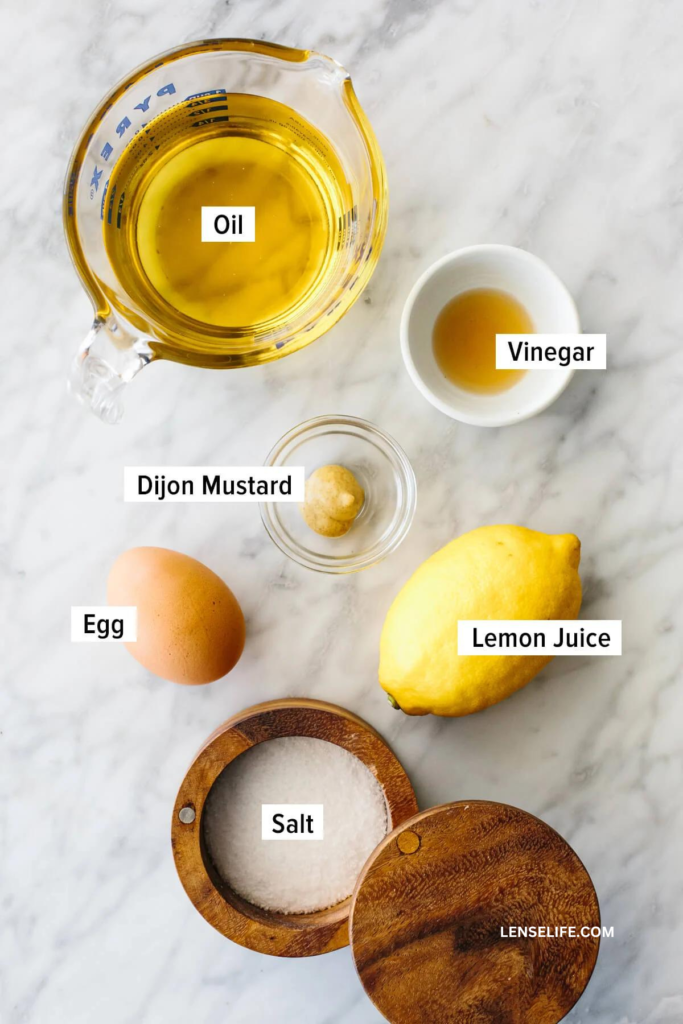
- Eggs: These little powerhouses act as the emulsifiers, helping the oil and water-based ingredients blend into a smooth, stable mixture.
- Oil: Your choice of oil serves as the base of your mayo, providing the creamy texture and mouthfeel. It’s where the magic happens!
- Vinegar or Lemon Juice: Adding acidity from either vinegar or lemon juice not only gives your mayo its signature tang but also plays a crucial role in stabilizing the emulsion.
- Mustard: Mustard is your flavor enhancer. It adds a kick and helps with emulsification, making your mayo stable and luscious.
- Salt and Pepper: These simple seasonings elevate the taste of your mayo, giving it that perfect balance of flavors.
Essential Tools
For this mayo-making journey, you won’t need fancy gadgets. Just these kitchen essentials:
- Mixing Bowl: This will be your mayo-mixing haven, so choose a size that allows for some vigorous whisking.
- Whisk or Hand Mixer: Whisking by hand can be a workout, but it’s doable. If you’ve got a hand mixer, your arm muscles will thank you later.
- Measuring Cups and Spoons: Precision matters when you’re crafting culinary delights, so don’t forget these trusty companions.
Optional Equipment
Feeling a bit extra or want to streamline the process? These optional tools can help:
- Blender or Food Processor: If you want to speed things up, a blender or food processor can create mayo in a snap.
- Immersion Blender: This handheld wizardry makes emulsifying a breeze. It’s like magic in a stick!
How to Make Homemade Mayonnaise
- Combine all the ingredients in the jar provided with your stick blender and allow them to rest for a minute or two.
- Next, firmly position the stick blender at the base of the container, ensuring it covers the egg yolk. Switch on the stick blender and refrain from relocating it for a duration of 10 to 15 seconds.
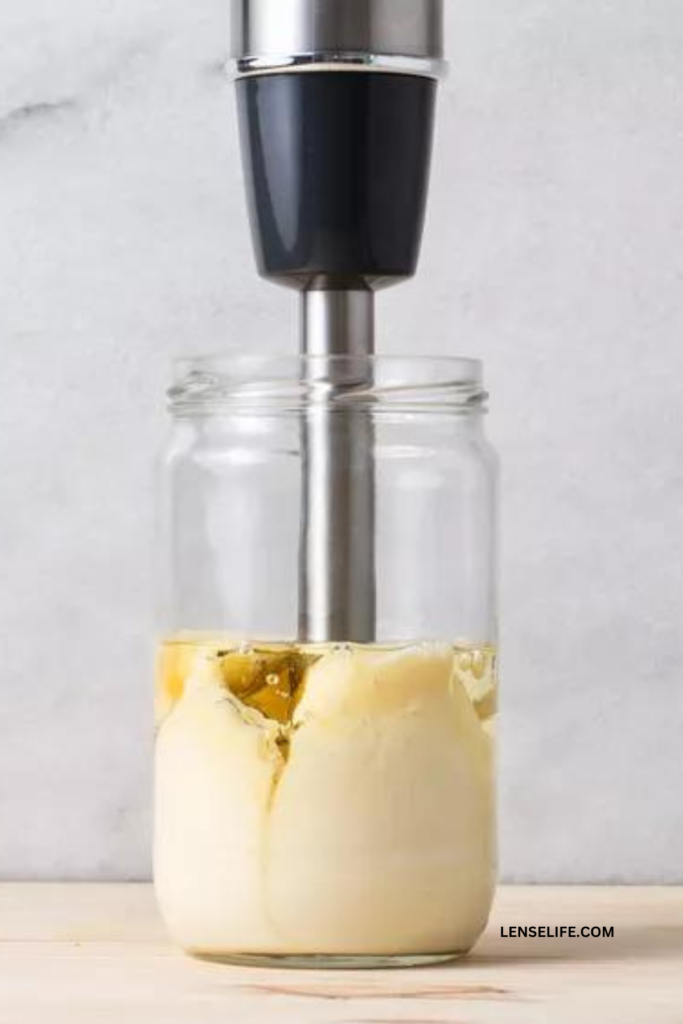
- As the mayonnaise begins to emulsify, you have the freedom to move the stick blender vertically to mix the ingredients thoroughly.
- Keep blending and gently moving the stick blender up and down until all the oil is completely integrated. Congratulations, you have successfully prepared mayonnaise!
Tips and Tricks
Troubleshooting Common Issues
Mistakes happen in the kitchen; we’ve all been there. Here are some quick fixes for common mayonnaise mishaps:
- If it’s too thin: Slowly whisk in more oil to thicken it up.
- If it’s too thick: Add a drop of water or lemon juice and whisk until you reach your desired consistency.
- If it separates: Start with a new egg yolk in a clean bowl and whisk it while slowly incorporating the separated mayo until it emulsifies again.
Achieving a Perfect Emulsion
The secret to velvety mayo is a stable emulsion. To achieve this:
- Make sure your ingredients are at room temperature.
- Add oil gradually, drop by drop at first, then in a thin, steady stream as it thickens.
- Keep whisking or blending until you get that glossy, smooth finish.
Flavor Variations
Garlic Aioli: Let’s start by elevating your mayo game with a garlic twist. For garlic aioli, mince a clove of fresh garlic and mix it into your mayo.
The result? A garlicky explosion of flavor that’s perfect for dipping fries, slathering on sandwiches, or drizzling over roasted veggies. This one’s a crowd-pleaser, so watch it disappear!
Sriracha Mayo: Spice up your life (and your mayo) with Sriracha mayo. Add a dollop of Sriracha sauce to your mayo and mix it in. The result? Creamy with a kick! It’s an ideal partner for sushi, sushi bowls, tacos, or anything that could use a spicy punch. Caution: it’s addictive!
Herb-Infused Mayonnaise: If you’re into fresh herbs, this one’s for you. Chop up some herbs like basil, cilantro, or dill, and fold them into your mayo. The result? A vibrant, herbaceous mayo that’s a dream with grilled chicken, fish, or as a dip for crudité. It’s like a garden party in your mouth!
Honey Mustard Mayo: Satisfy your sweet and savory cravings with honey mustard mayo. Simply add a spoonful of honey and a squirt of your favorite mustard to your mayo.
The result? A harmonious blend of creamy, sweet, and tangy that’s divine on sandwiches, salads, or as a dip for chicken tenders. You’ll want to put it on everything!
Health Considerations
Homemade vs. Store-Bought Mayonnaise
Homemade mayo has its perks. You control the ingredients, so you know exactly what’s in it. No additives, preservatives, or mystery ingredients. Plus, it tastes fresher and more vibrant.
Store-bought mayo is convenient, but it often contains additives like stabilizers and preservatives. It’s a trade-off between convenience and control over what you’re putting in your body.
Nutritional Information
Here’s a ballpark figure for the nutritional content of your homemade mayonnaise, based on a standard recipe:
- Calories: About 100 per tablespoon
- Fat: Around 11 grams
- Protein: Negligible
- Carbohydrates: Minimal
Remember, these numbers can vary based on your choice of oil and other ingredients. It’s generally a source of healthy fats, like the ones found in olive oil.
Dietary Restrictions and Substitutions
If you’re watching your diet or have dietary restrictions, fear not! Mayo can still be your friend. You can:
- Go for olive oil if you prefer a heart-healthy option.
- Use egg substitutes or aquafaba (chickpea brine) for a vegan twist.
- Opt for gluten-free mustard if you have gluten sensitivities.
Storing Homemade Mayonnaise
Your homemade mayo masterpiece deserves proper care to stay fresh and tasty.
Refrigeration Guidelines: Store your mayo in an airtight container in the refrigerator. It should be good for about a week, but if you notice any off smells or funky textures, it’s time to bid it adieu.
Shelf Life: In general, homemade mayonnaise doesn’t have the shelf life of store-bought versions since it lacks preservatives. So, make just the amount you’ll use within a week to ensure the best quality.
Freezing Options: If you’ve made a big batch and don’t think you can finish it all in time, consider freezing it. Pour your mayo into an ice cube tray, freeze it, and transfer the cubes to a freezer bag. Defrost cubes as needed, and your mayo can last for a couple of months.
Serving Suggestions
Pairing with Various Dishes
Now that you’ve got your mayo game strong, let’s talk about pairing it with dishes. Your homemade mayonnaise can be the MVP of your meals:
- Burgers: Slather it on your burger buns for a juicy, creamy bite.
- Sandwiches: Make the ultimate deli-style sandwich with your custom mayo.
- Salads: Mix it into potato salad, coleslaw, or pasta salad for that creamy goodness.
- Seafood: It’s a match made in heaven with crab cakes or shrimp cocktails.
- Fries: Dip those crispy fries for a heavenly experience.
Incorporating Mayonnaise into Recipes
Mayo isn’t just a condiment; it’s a versatile ingredient in recipes:
- Creamy Dressings: Whip up creamy salad dressings by blending mayo with herbs and spices.
- Moist Baking: Use mayo to keep cakes and cupcakes extra moist.
- Deviled Eggs: Make devilishly good deviled eggs with a mayo-based filling.
- Tuna Salad: Mix mayo with canned tuna, celery, and onions for a classic tuna salad.
Conclusion
Congratulations, you’ve officially graduated from Mayonnaise University! You’ve mastered the art of homemade mayo, explored exciting flavor variations, and learned tips to troubleshoot any kitchen hiccups.
You’re now armed with the knowledge to create the creamiest, most flavorful mayo in town.
Remember, mayo-making is an art, and you’re the artist. Don’t be afraid to experiment, customize, and delight in the deliciousness you create.
Whether you’re dipping, spreading, or mixing it into recipes, your homemade mayo is a versatile companion in your culinary adventures.
So, go forth, mayo maestro! Share your newfound skills, dazzle your taste buds, and savor every creamy moment. Until our next culinary expedition, happy mayo-making!
Frequently Asked Questions
Absolutely! Olive oil can be used, but it has a distinct flavor, so choose it if you enjoy the taste. You can also go for neutral oils like vegetable or canola for a milder mayo.
Homemade mayo typically stays good in the refrigerator for about a week. If it smells off or changes texture, it’s time to part ways.
Yes, you can! Freeze it in small portions, and it should last for a couple of months. Defrost as needed.
In general, homemade mayo contains about 100 calories per tablespoon, mainly from fats (around 11 grams). It’s low in protein and carbs.
Absolutely! You can substitute egg yolks with alternatives like aquafaba (chickpea brine) and use a plant-based oil. Make sure your mustard and other ingredients are vegan-friendly.
If your mayo separates, start with a new egg yolk in a clean bowl. Slowly whisk in the separated mayo until it emulsifies again.
Easy Homemade Mayonnaise
Ingredients
- 1 whole egg
- ½ tbsp lemon juice
- 1 tsp white wine vinegar
- ¼ tsp Dijon mustard
- ¼ tsp sea salt
- 1 cup avocado oil, or light-flavored olive oil
Instructions
- Incorporate the egg, lemon juice, vinegar, mustard, and salt into the container provided with your immersion blender. Gradually drizzle in the oil and allow it to rest for a moment.
- Insert your immersion blender into the container, ensuring it covers the egg yolk, and firmly press it down to the bottom. Activate the blender and maintain constant pressure against the bottom of the container for a minimum of 10 to 15 seconds, refraining from any movement.
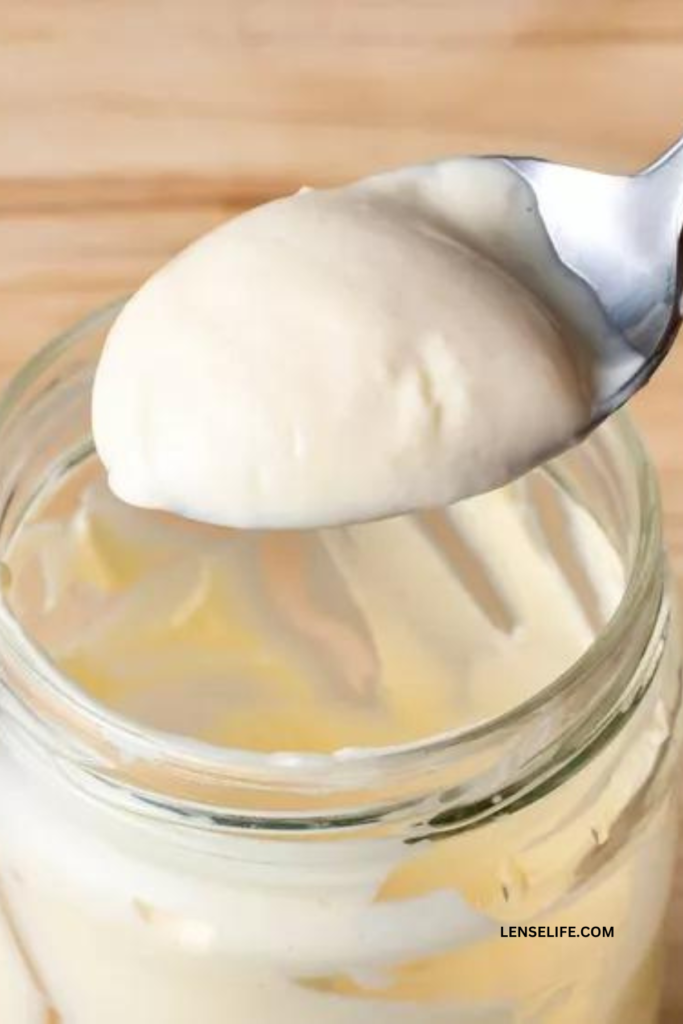
- As soon as the mayonnaise begins to blend and thicken, gently move the immersion blender up and down to thoroughly mix all the components.
- Stir the resulting mayonnaise and transfer it to an airtight storage container for refrigeration.
