Hey there, fellow chocolate enthusiasts! If you’re anything like me, the mere thought of chocolate crunch bars can make your taste buds dance with delight.
These sweet, crunchy, and chocolaty treats are a universal favorite, and I’m about to share with you an easy-peasy recipe to make them right in your own kitchen.
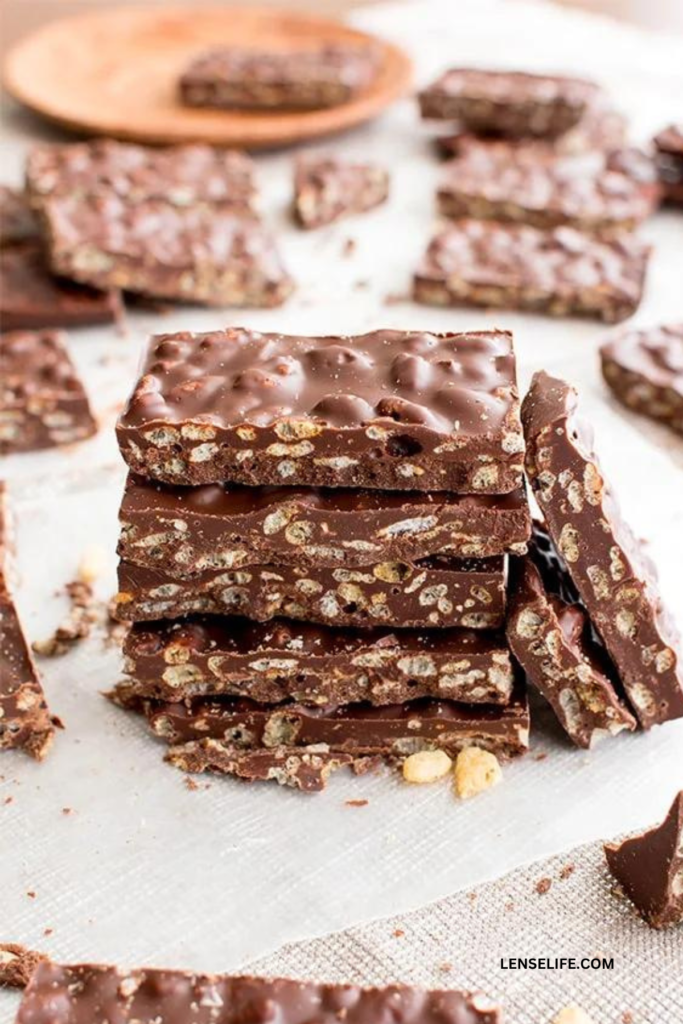
It’s like a symphony of flavors and textures that’ll make your heart skip a beat. Whether you’re a seasoned baker or a newbie in the kitchen, this recipe is your golden ticket to creating these irresistible treats.
But before we dive into the nitty-gritty of making these delightful bars, let’s get to know the star players – the ingredients and equipment you’ll need.
Chocolate Crunch Bars Ingredients
Chocolate Base
Dark Chocolate: This is where the magic begins. Dark chocolate brings that deep, rich cocoa flavor that we all crave. It’s the hero of our chocolate crunch bars. So, go ahead and pick your favorite dark chocolate. The higher the cocoa content, the better!
Milk Chocolate: While dark chocolate takes center stage, a bit of milk chocolate adds a touch of creaminess. It’s like the perfect supporting actor in our chocolatey drama.
Crunchy Elements
Rice Cereal: Here’s where the ‘crunch’ in chocolate crunch bars comes from. Rice cereal provides that addictive crispy texture. You know that satisfying snap, crackle, and pop? Yep, that’s the one.
Nuts (optional): If you’re feeling a bit nutty, you can toss in some chopped nuts. They add a delightful nuttiness and extra crunch. Almonds, peanuts, or cashews – take your pick!
Sweetener
Sweetened Condensed Milk: Our sweet secret weapon. Sweetened condensed milk not only sweetens our bars but also helps bind everything together. It’s like the glue that holds our delicious creation in one piece.
Flavor Enhancers
Vanilla Extract: A dash of vanilla extract adds a layer of warm, comforting flavor. It complements the chocolate beautifully and takes our bars to the next level.
Salt: Just a pinch of salt may seem surprising, but it’s the secret to balancing the sweetness and intensifying the chocolate flavor. It’s the ‘wow’ factor that keeps people guessing what makes these bars so irresistible.
Equipment and Utensils
Now that you’re well-acquainted with our star ingredients, let’s talk tools. You won’t need a fancy kitchen setup to make these chocolate crunch bars. Here’s what you’ll require:
- Baking Pan: You’ll need a rectangular or square baking pan to shape and set our chocolatey masterpiece.
- Parchment Paper: Parchment paper is your best friend in the kitchen. It prevents our bars from sticking to the pan and makes cleanup a breeze.
- Mixing Bowls: A few mixing bowls will come in handy for melting chocolate and mixing ingredients.
- Double Boiler (or Microwave): You can melt the chocolate using either a double boiler or a microwave. The double boiler method is traditional, while the microwave method is quick and convenient.
- Spatula: A spatula will help you mix and spread the chocolatey goodness evenly.
- Knife: Last but not least, a knife will be your trusty tool for cutting those beautiful bars into perfect squares.
How to Make Chocolate Crunch Bars
Line the Baking Pan
Now, let’s prepare our baking pan. You’ll want those bars to slide out effortlessly without any sticky situations. Here’s what you do:
- Select Your Pan: Grab your trusty baking pan – rectangular or square, your choice!
- Cut Parchment Paper: Cut a piece of parchment paper that fits the bottom of your pan. Leave a little overhang on the sides to use as handles later.
- Secure the Paper: Place the parchment paper in the pan, pressing it down so it sticks nicely. The overhanging edges will make it a breeze to lift your bars out when they’re done.
Melting the Chocolate
Now, here comes the fun part – melting that glorious chocolate. There are two methods to choose from, so pick the one that suits your fancy:
- Double Boiler Method: Fill a small saucepan with water, about a third full. Bring it to a simmer. Find a heatproof bowl that fits snugly on top of the saucepan without touching the water. This will be your makeshift double boiler. Break your dark and milk chocolates into smaller pieces and place them in the heatproof bowl. As the water simmers below, the steam will gently melt the chocolate in the bowl above. Stir occasionally until it’s smooth and velvety.
- Microwave Method: Grab a microwave-safe bowl and place your chopped chocolates in it. Heat the chocolate in short 20-30 second bursts, stirring in between each burst. Be patient; it’ll melt quicker than you think.
Whichever method you choose, you’re aiming for silky-smooth melted chocolate. Now, let’s take this up a notch and give our bars that sweet, gooey touch.
Incorporating Sweetened Condensed Milk
- Gradually pour the sweetened condensed milk into your melted chocolate. Stir gently but consistently until the mixture becomes well combined. You’ll see it transform into a luscious, glossy chocolate concoction.
Adding Flavor with Vanilla Extract and a Pinch of Salt
To take our chocolate crunch bars to flavor paradise, let’s add a few drops of vanilla extract and a tiny pinch of salt:
- Vanilla Extract: Add a teaspoon of vanilla extract to the mix. It’ll infuse the chocolate with a warm, comforting aroma and flavor.
- A Pinch of Salt: Don’t be shy; just a pinch of salt will heighten the chocolate’s richness. It’s the secret that makes your taste buds do a happy dance.
Adding Crunchy Goodness
Now, it’s time to elevate our chocolatey masterpiece with the delightful crunch that makes these bars a true sensation.
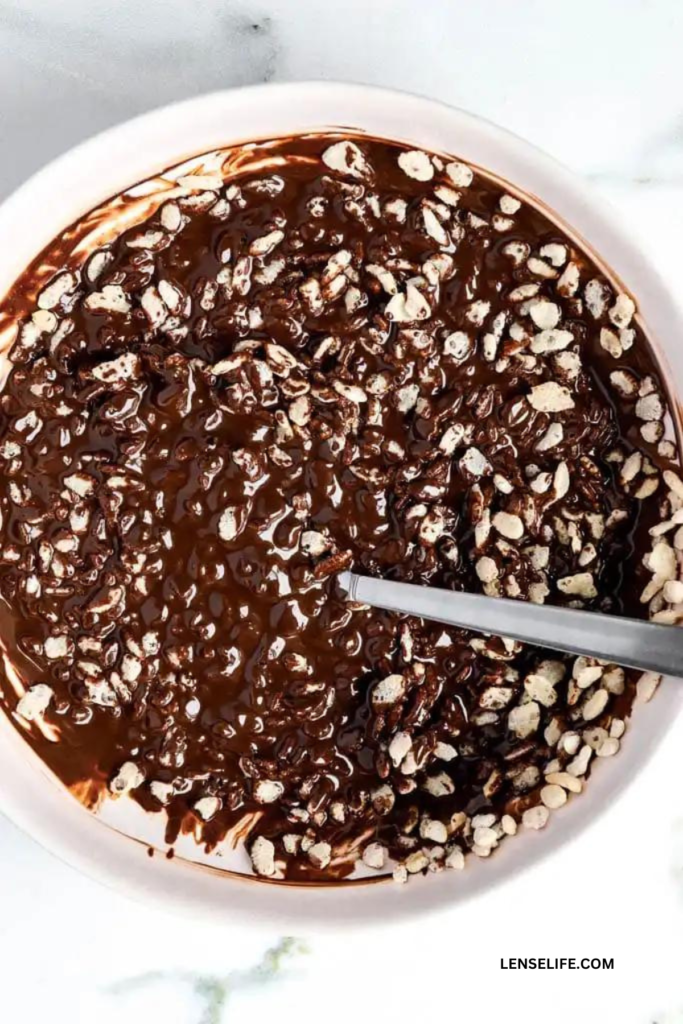
- Mixing in Rice Cereal: Gradually fold in the rice cereal into the chocolate mixture. It’s like adding tiny, crispy clouds to our mix. Gently stir until the cereal is evenly coated with that luxurious chocolate goodness.
- Adding Nuts for Extra Texture: If you’re a fan of nuts, toss in a handful of your favorites – almonds, peanuts, or cashews. They’ll bring a satisfying nutty crunch to every bite.
- Ensuring Even Distribution: As you mix in the rice cereal and nuts (if you chose to use them), make sure everything is evenly distributed. We want every bite of our chocolate crunch bars to be a symphony of flavors and textures.
With our crunchy mixture ready, let’s move on to the next step – shaping and setting our bars.
Shaping and Setting
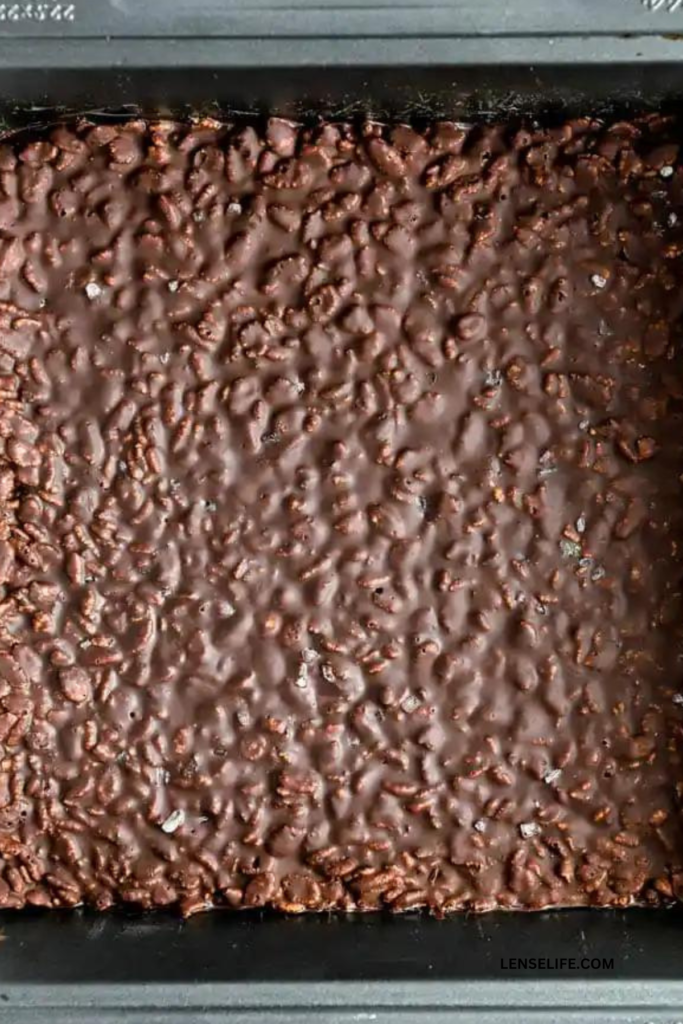
- Pouring the Mixture into the Baking Pan: Carefully pour the mixture into the prepared baking pan. It’s like pouring your heart and soul onto a canvas. Use a spatula to spread the mixture out evenly in the pan. Make sure it reaches all the corners for uniformly scrumptious bars.
- Pressing Down Gently: Gently press down on the mixture with the back of your spatula. This helps compact everything together, creating that satisfying ‘bar’ texture.
- Letting It Set: You can let your bars set at room temperature. This might take a few hours, but it’s worth the wait for that melt-in-your-mouth goodness. If you’re too excited to wait, pop the pan in the fridge for about an hour. The cool air will speed up the setting process, and you’ll be sinking your teeth into these bars in no time.
Cutting and Serving
- Removing the Chocolate Crunch Bar Block from the Pan: Grab those overhanging parchment paper edges from earlier. Lift the entire block of chocolate crunch bars out of the pan. It should come out easily thanks to the parchment paper.
- Cutting into Bars or Squares: Decide whether you want large bars or bite-sized squares. It’s all about personal preference! Use a sharp knife to make clean, precise cuts. Wipe the knife between cuts to keep them looking neat.
Variations and Customizations
Variety is the spice of life, and when it comes to chocolate crunch bars, there are endless ways to get creative.
Here are some exciting variations and customizations to make your bars uniquely yours:
White Chocolate Crunch Bars: For a creamy, dreamy twist, switch out the dark chocolate for white chocolate. The result? White chocolate crunch bars that are a symphony of sweetness. Follow the same recipe but use white chocolate instead, and prepare to be amazed.
Nut-Free Options: Not a fan of nuts or dealing with allergies? No worries! You can skip the nuts altogether and still enjoy the crispy, chocolatey goodness of these bars. The rice cereal will ensure you still get that delightful crunch.
Adding Dried Fruits: If you’re feeling fruity, consider adding dried fruits like cranberries, apricots, or cherries. Just chop them up and fold them into the mix for a burst of fruity flavor in every bite.
Flavoring with Extracts: For a refreshing twist, try adding a drop or two of peppermint extract. It’ll give your bars a cool, minty kick that’s perfect for the holiday season or any time you crave a little freshness.
Storage and Shelf Life
Now, let’s talk about making your chocolate crunch bars last (if you can resist eating them all at once).
Air-Tight Container: Store them in an airtight container to prevent moisture and air from getting in.
Parchment Paper Layers: Place parchment paper between the layers of bars to prevent sticking.
Estimated Shelf Life: Under normal conditions, your chocolate crunch bars should stay fresh for about 1-2 weeks. But let’s be honest, they’ll probably disappear way before that!
Tips for Freezing: If you’re thinking long-term, you can freeze these bars for up to 3 months. Just wrap them tightly in plastic wrap and place them in an airtight container or freezer bag. When you’re ready for a treat, let them thaw at room temperature for about 20 minutes.
Conclusion
And there you have it, folks! You’ve embarked on a delicious journey through the world of homemade chocolate crunch bars.
From melting chocolate to adding that perfect crunch, shaping and setting, and finally, savoring your creation – it’s been a sweet ride.
These bars are more than just a delightful treat; they’re a labor of love, a canvas for your creativity, and a surefire way to bring smiles to the faces of those you share them with.
So, go ahead and whip up a batch of these irresistible bars. Whether you stick to the classic recipe or explore exciting variations, one thing’s for sure – your taste buds are in for a heavenly ride.
Now, it’s your turn to become the chocolatier of your kitchen. Get ready to enjoy the sweetest rewards – your very own homemade chocolate crunch bars. Happy munching!
Frequently Asked Questions
Absolutely! You can experiment with various chocolate types – dark, milk, white, or even a combination. It’s all about your chocolatey preferences.
If you’re out of sweetened condensed milk, you can make your own by simmering equal parts of milk and sugar until it thickens. Allow it to cool before adding it to your chocolate mixture.
To make gluten-free chocolate crunch bars, ensure your rice cereal is certified gluten-free. Skip the nuts or use gluten-free nuts, and you’re good to go.
Yes, you can store your chocolate crunch bars at room temperature for short periods. For longer shelf life, keep them in an airtight container in the fridge or freeze them.
Chocolate Crunch Bars
Ingredients
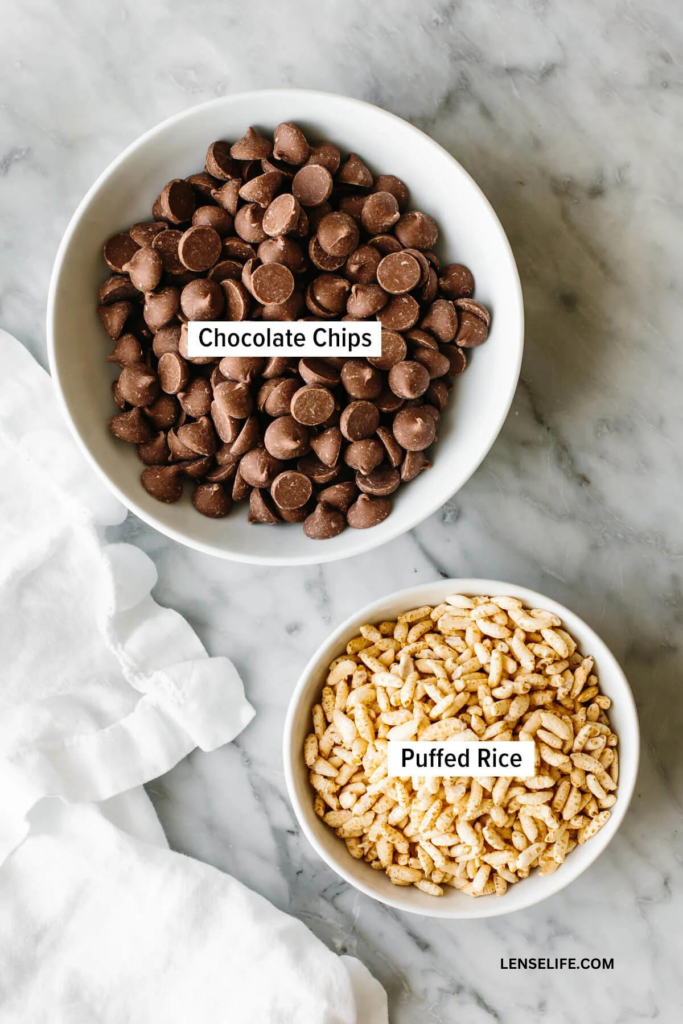
- 1 ½ cups chocolate chips
- 1 cup puffed rice or puffed quinoa
- Optional: Nuts and Sweetener
Instructions
- Begin by melting the chocolate until it becomes smooth, either by using a heatproof bowl over simmering water or by microwaving it in 20-second intervals. Once smooth, combine the puffed rice with the melted chocolate.
- Prepare an 8½ x 4½ loaf pan by lining it with parchment paper, leaving enough paper hanging over the sides to easily lift the contents out. Pour the chocolate mixture into the loaf pan, ensuring an even layer. Then, place it in the refrigerator for approximately 30 minutes or until it solidifies.
- Once the chocolate has set, remove it from the loaf pan and use a warmed knife to cut it into bars.
